And in case you are looking to know how to screen record in windows 10, you will be glad to learn that windows already has easy to use built-in tools that do not need any additional software. The attention of screen recording is to produce tutorials, record online lessons, or record gameplay or even record work presentation. Windows 10 provides two trusted applications; the Xbox Game bar and the Snipping tool. Both will enable you to capture the activity on the screen along with audio and store files in MP4. The present guide provides a stepwise process of screen recording in windows 10, which will assist amateurs and experts to screen record their screens effectively and fast.
How to Screen Record in Windows 10 Using Xbox Game Bar
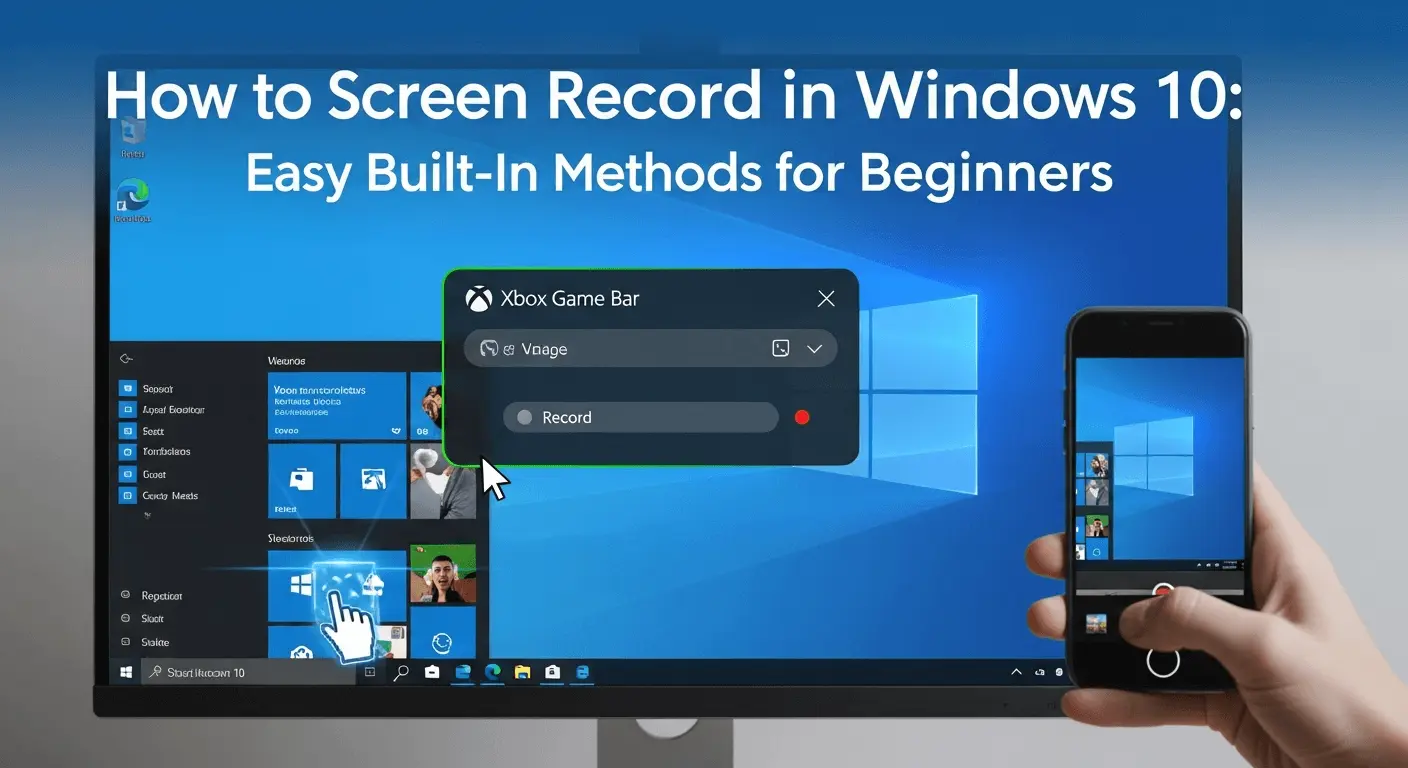
One of the most popular methods to screen record in windows 10 is the Xbox game bar. It is effective when it comes to apps and games but fails to capture the desktop and file explorer.
Firstly, define the app or a game which you want to record. Activate Xbox Game Bar overlay by pressing Windows + G. Clicking on Record button or windows + Alt + R will start recording immediately. Ensure that the microphone icon is turned on when you want to have voice narration.
On completion, press the windows + alt +R again or stop button. Automatically your recording will be saved in Videos > Captures in MP4 format. This is the quickest and the best approach to take in case you want to know how to screen record in Windows 10 during a game or demonstration of an application. want to learn how to screen record in Windows 10 for gameplay or app demonstrations.
How to Screen Record in Windows 10 Using Snipping Tool
The Snipping Tool is more flexible and ideal in capturing a certain portion of the screen. The latter technique is effective in tutorials and presentation.
Pressing Windows + Shift + R will open the snipping tool screen recording mode. Click your cursor to choose the area that you want to record. You can just Click Start, do something you want to capture and stop when done.
The recording is opened in a preview window in which you can trim or edit it. It can also be opened in Clipchamp then saved. It is a great choice of how to screen record in windows 10, in case you want to do it in the most accurate way.
Audio and Video Settings in Windows 10
Both solutions capture audio of the system and the microphone by default. The microphone can be muted or unmute during recording by clicking on Win + Alt + M. To achieve improved quality, access settings, go to Gaming, captures and change frame rate, video quality, and audio settings. Such environments enhance the general screen capturing process.
Quick Tips for Better Screen Recording
One should always close apps that are not necessary in order to avoid distractions. Adjust audio test settings prior to recording. Shortcuts save time using keyboard shortcuts. These few clicks would simplify the task of obtaining knowledge about how to screen record in Windows 10 and make it more professional. Visit this site for more details: https://thepakistan.pk/