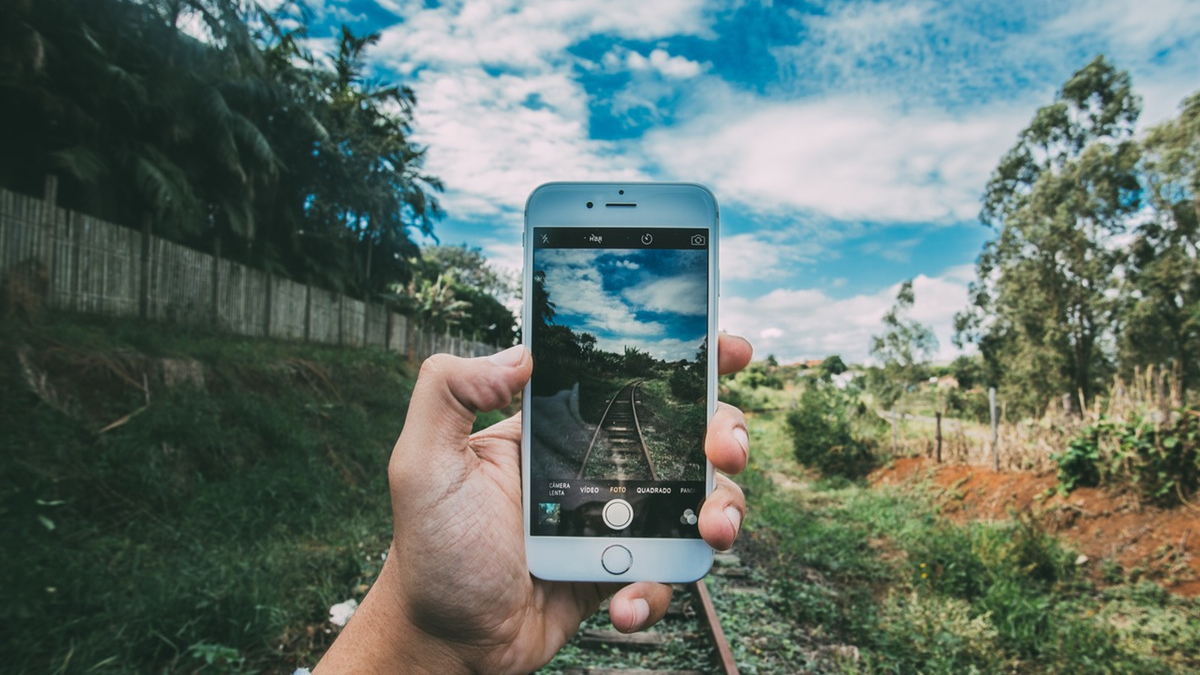
Learn How to Shoot Good Images on Your Phone
If you can recall a time before cellphones, getting a fantastic picture required a lot of effort. It’s now simple to learn how to shoot good images on your phone without the need for expensive cameras or desktop editing programmes.
1. Use Gridlines to Balance Your Shot
Turning on the gridlines in the camera is one of the simplest and finest ways to enhance your smartphone images. In doing so, a set of lines based on the “rule of thirds,” a photographic composition theory that states a picture should be divided into thirds both horizontally and vertically, giving you a total of nine parts, are superimposed on the screen of your smartphone’s camera.
This idea states that if you position objects of interest in these intersections or along the lines, your image will be more level and balanced and viewers will be able to engage with it more organically.
2. Set Your Camera’s Focus
The foreground of your frame is automatically focused by today’s phone cameras, but not every photo you snap on your phone has a clear subject. Open your camera app and tap the screen where you wish to sharpen the view to adjust where your camera lens will concentrate.
For instance, it may be challenging for your camera to track and adjust focus if you’re shooting a picture of something moving. Before taking the image, tap the screen to adjust the focus so that the moving object is as sharply in focus as possible. The camera’s display should then show a square or circular icon, which will cause the entire subject of the photo to become that icon’s focus.
3. High Dynamic Range Aids in Balancing Light & Dark Portions
A camera app function known as high dynamic range, or HDR, aids in balancing the light and dark portions of a photograph with strong contrast. It can be used to add a more artistic or creative feel to photographs, but it is typically employed to create an image that resembles what you see with your eyes.
It can be challenging to acquire the ideal exposure for both light and dark regions with smartphone cameras. You might be photographing a person in low light in a room with a bright wall, or in low light outside against a bright background. The subject of the photo could be underexposed if the exposure is set to the background. On the other hand, adjusting the exposure to the subject can cause the background to be overexposed.
Read More | Long March to go on For 10 Months: Imran
By preserving both the details in shadowy and bright areas as well as darker areas, HDR avoids this. The iPhone automatically captures HDR images. You might have to manually change the HDR settings on Android phones.
4. Make Use of Daylight
It’s challenging to locate a fantastic smartphone flash snapshot. The majority of the time, they cause an image to appear overexposed, ruining colours and making people in the picture look washed out.
Utilize all sources of natural light you may locate, even after it has been dark. This provides you the opportunity to experiment with shadows, like in the second picture below, or make a silhouette using other ambient sources of light, including nearby buildings and traffic.
5. Focus on One Subject
The best photographs frequently focus on just one intriguing topic. Spend more time setting up the shot while taking a photo of one. According to some experts in photography, the subject shouldn’t take up the entire frame and two-thirds of the image should be negative space because this makes the topic stand out more.
To verify that the camera is focused and the lighting is optimal, tap the screen of your smartphone to bring it to your subject.
Pro tip: After taking the picture, you may edit it with filters and programmes to make the topic even more colourful or crop it to properly frame it. From your phone, you can modify the photo’s brightness, contrast, and saturation as needed.


